Electro Arc

Category Using your Metal Disintegrator

How to Remove a Broken Tap Quickly

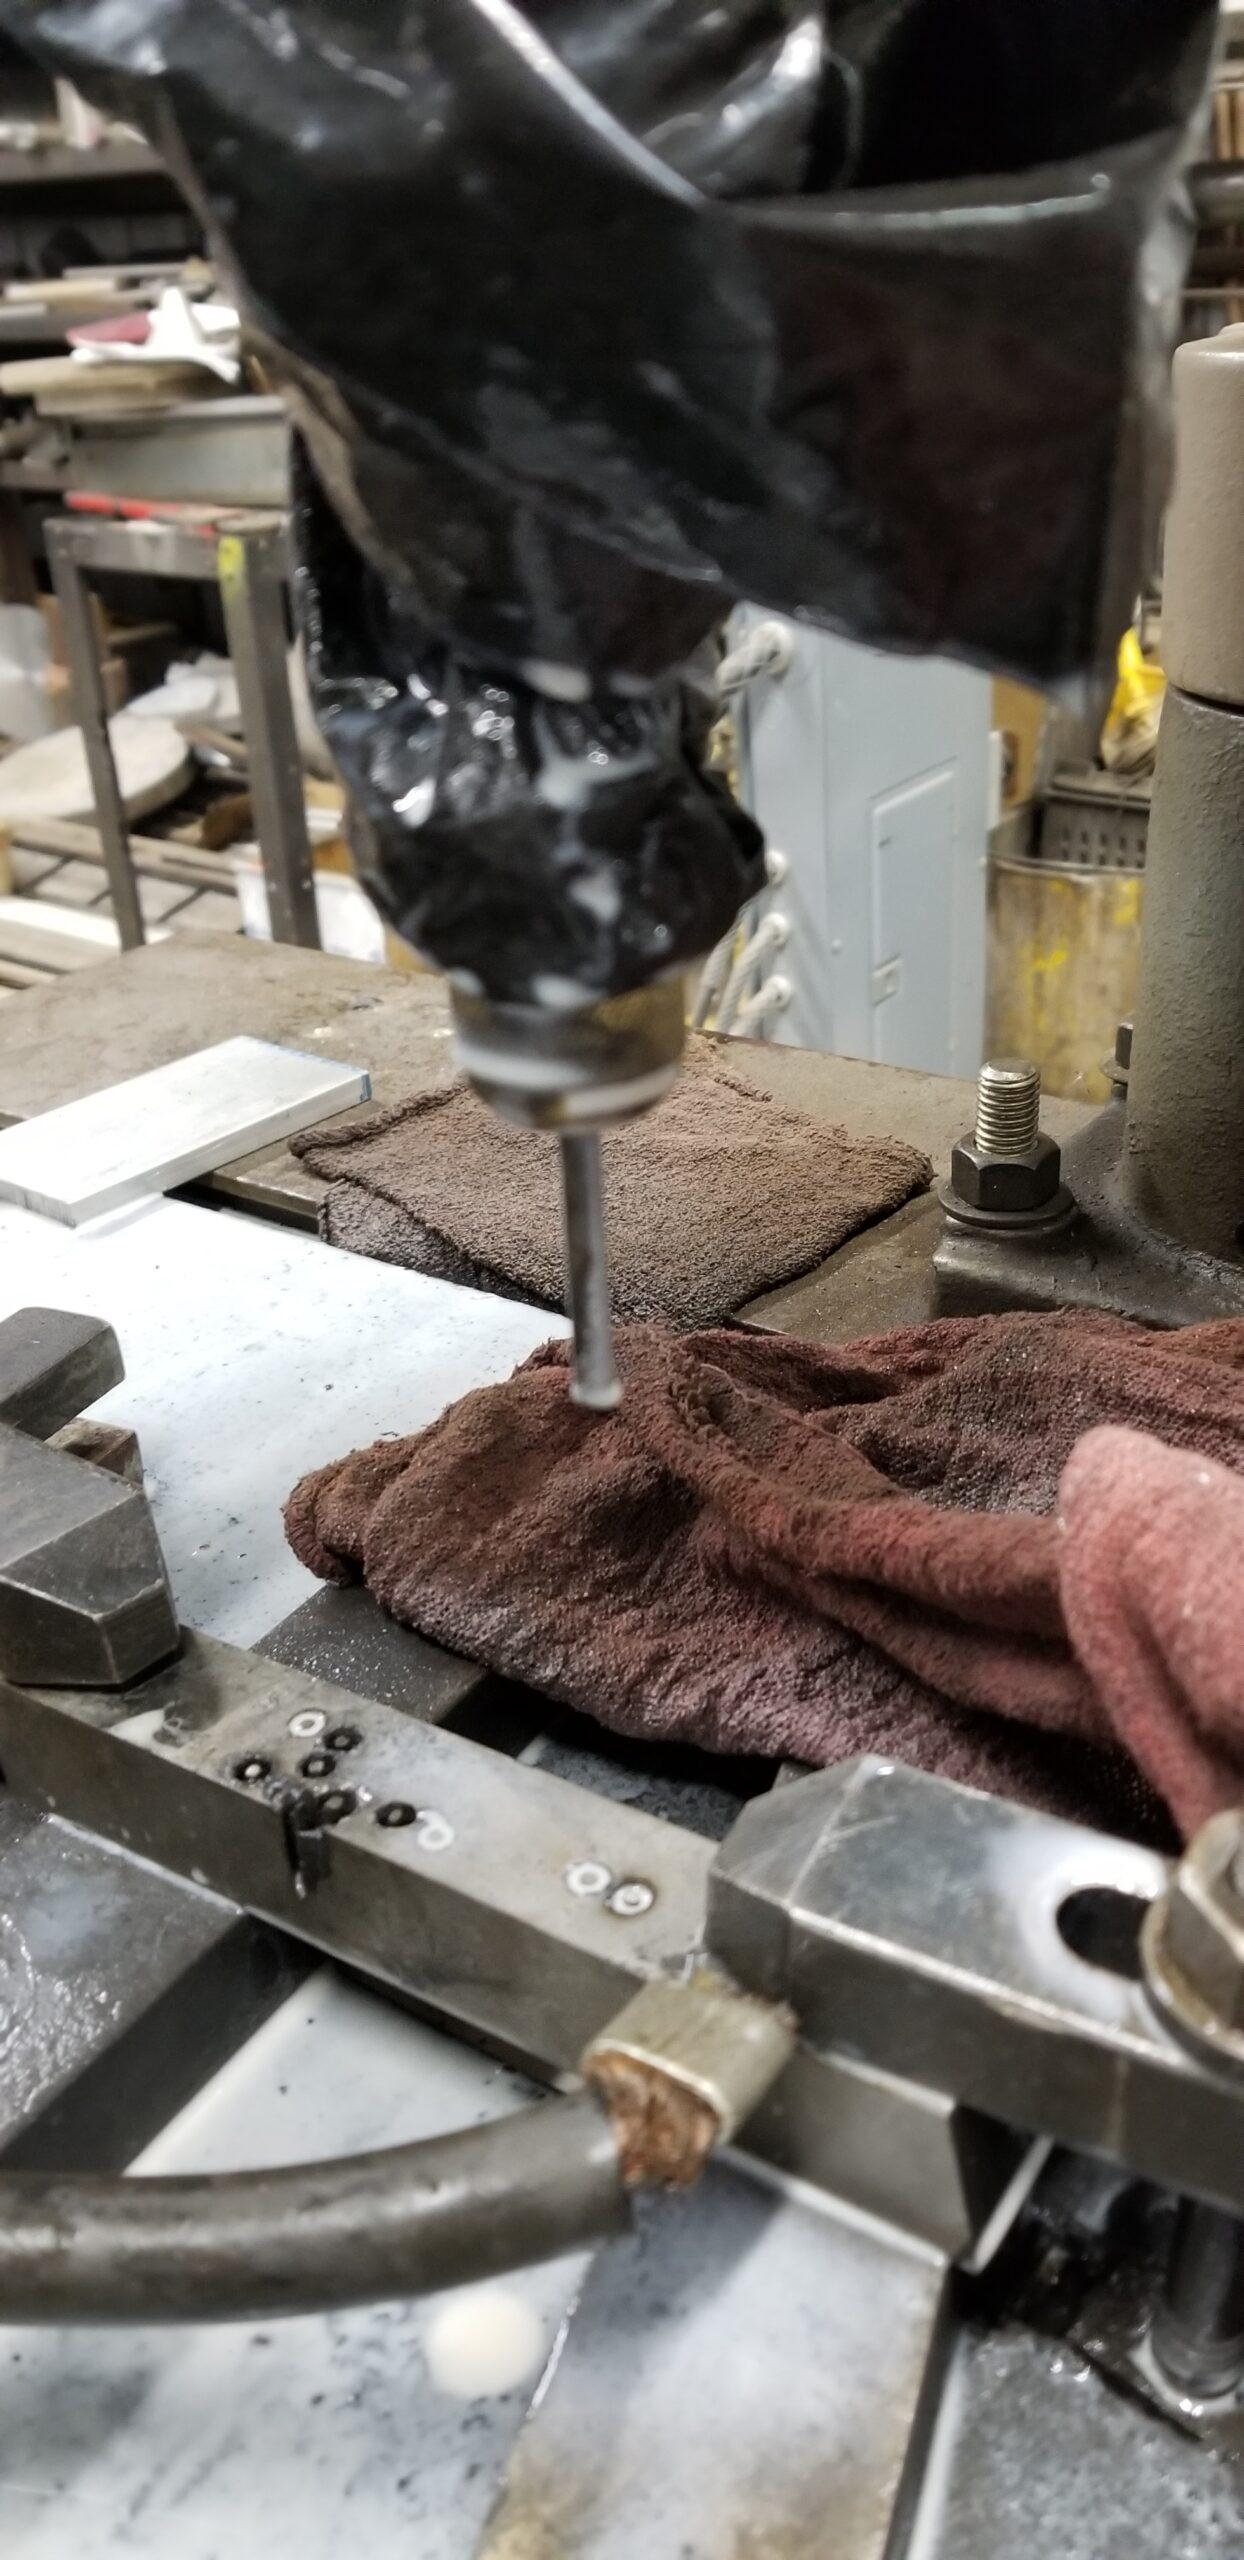
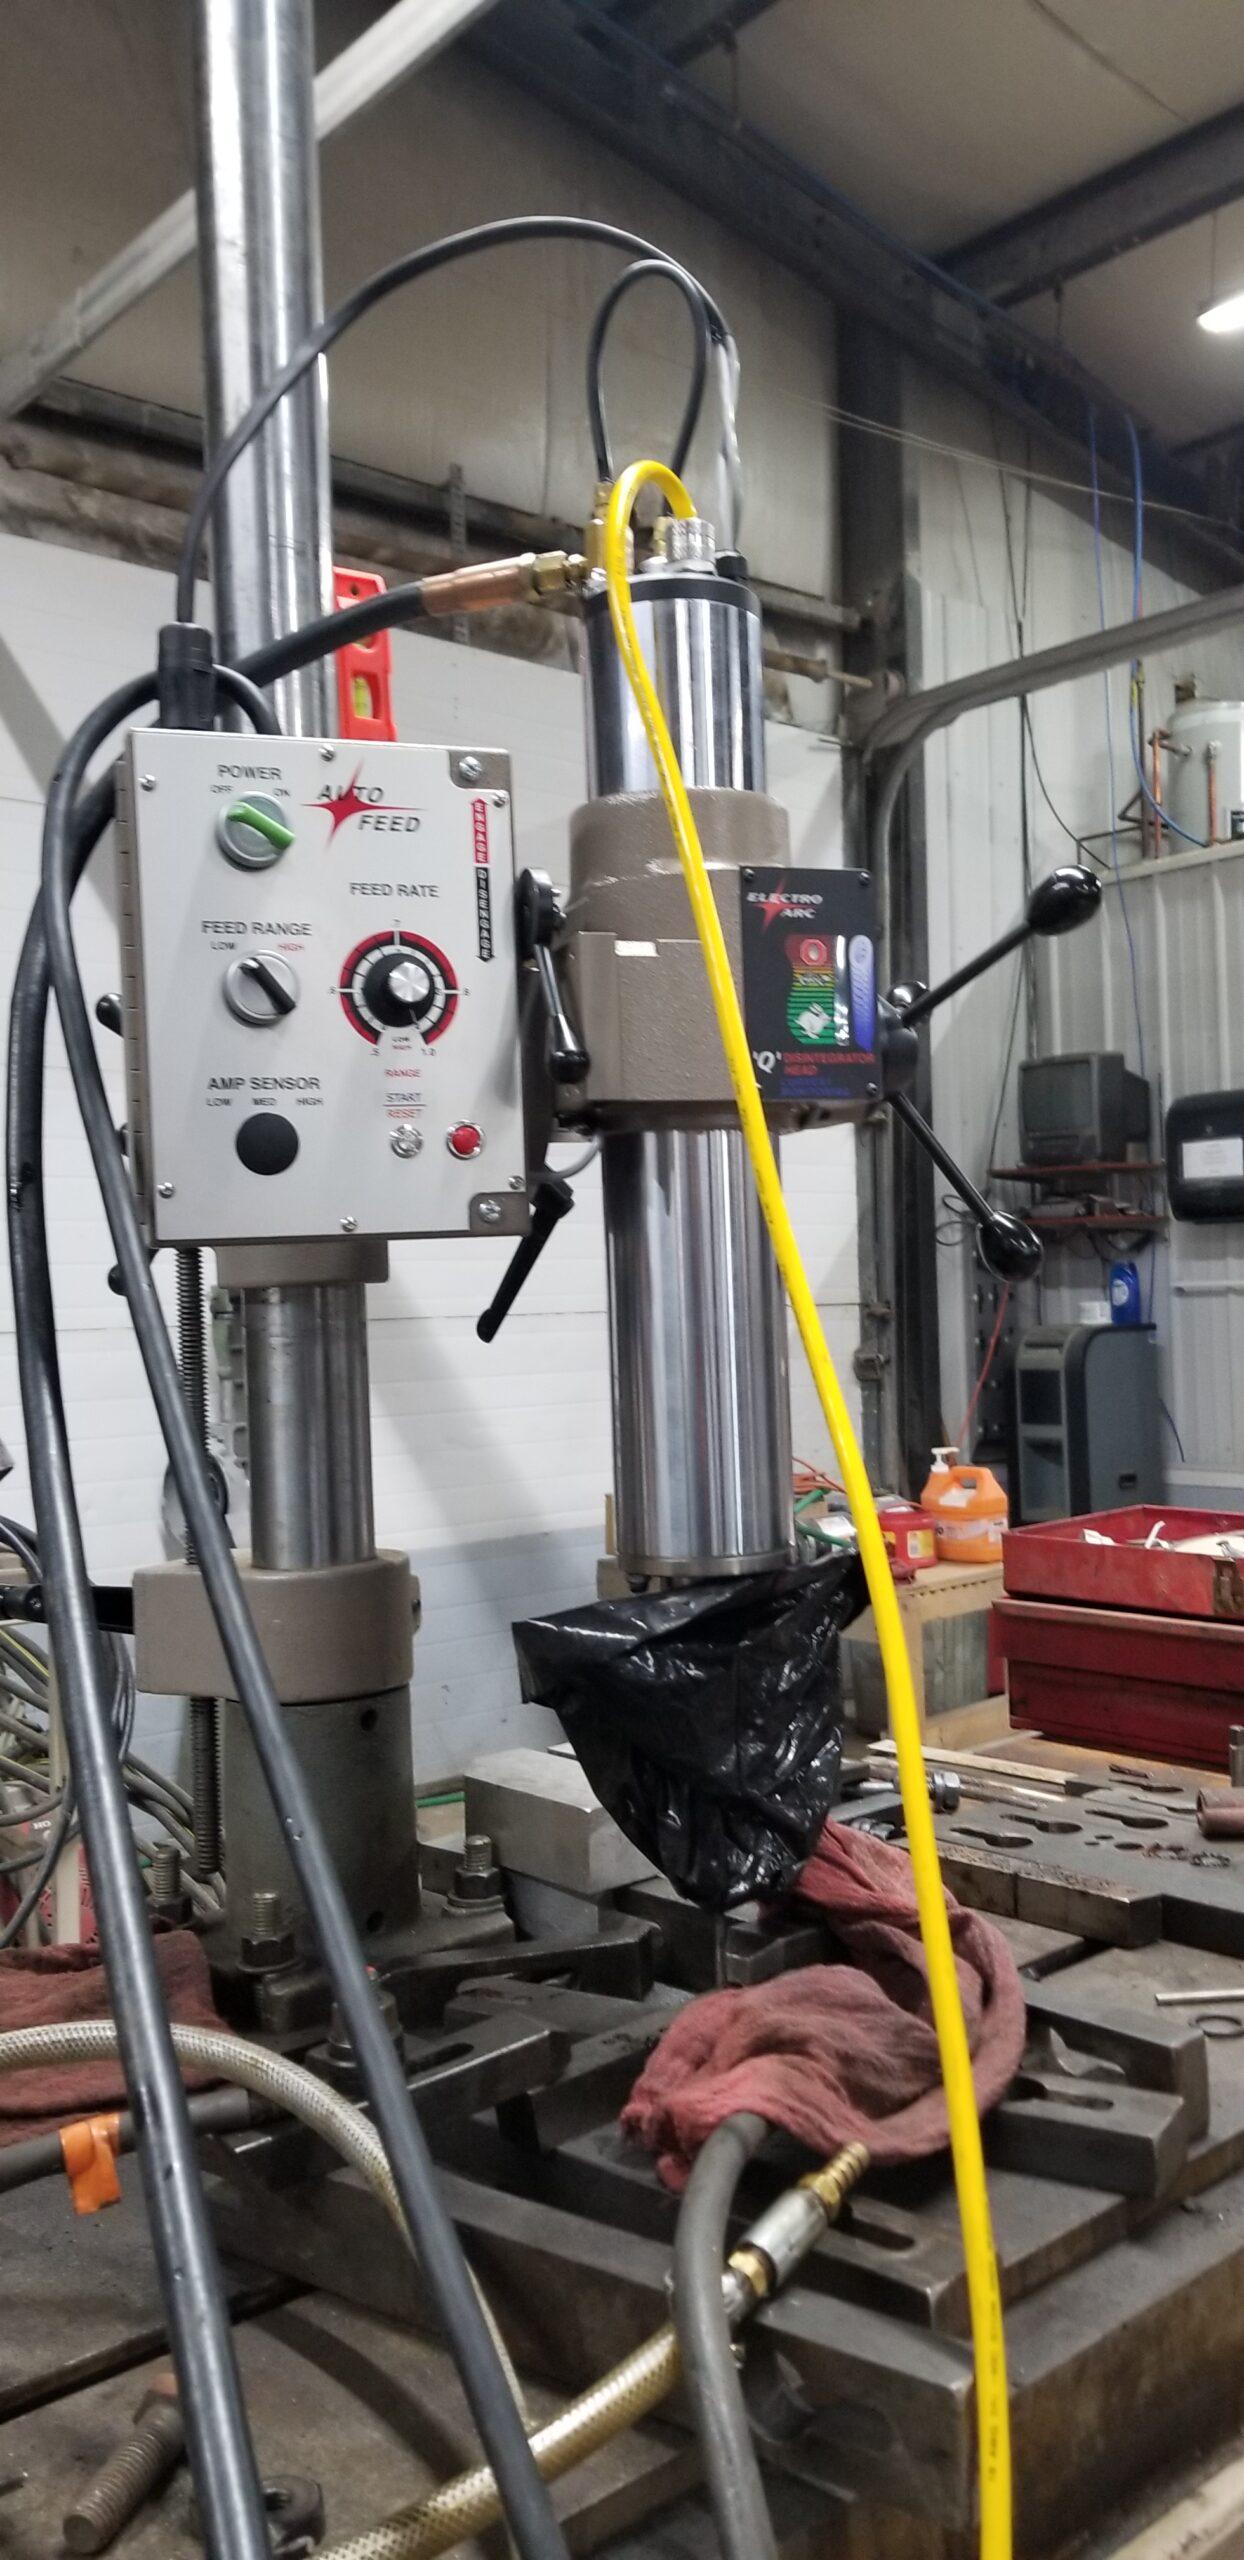
Electro Arc’s 3-S portable metal disintegrator is featured below. You do not need dielectric fluid to use Electro Arc machines, just coolant. The 3-S is easy on your pockets and convenient for you to use. Our metal disintegrators remove broken taps and drills without damage or coming into contact with the part. You can also use an Arc-er Head with other machine tools like the drill press in the video below:

What is a metal disintegrator?

You have probably heard a metal disintegrator referred to by many names including; tap extractor MDM machine, tap burner, tap zapper, and spark eroder. You can use these metal disintegration machines to remove broken bolts, broken taps, and broken drills without damaging your part. Cheap alternatives are available but can cause more damage or break easily. With an Electro Arc metal disintegrator, you get the precision, speed, and value without the headache of replacing parts on expensive equipment.

Broken tap removal service

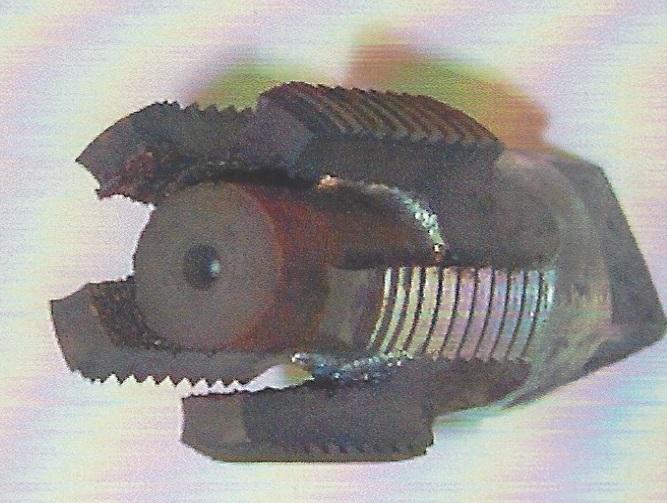
You may experience broken taps in any situation, even when drilling and tapping a riffle, the risk of a broken tap is present. It may be tempting to use a simple cheap product like ex-out or Tap Magic, but as many of you know, this often makes the problem worse.

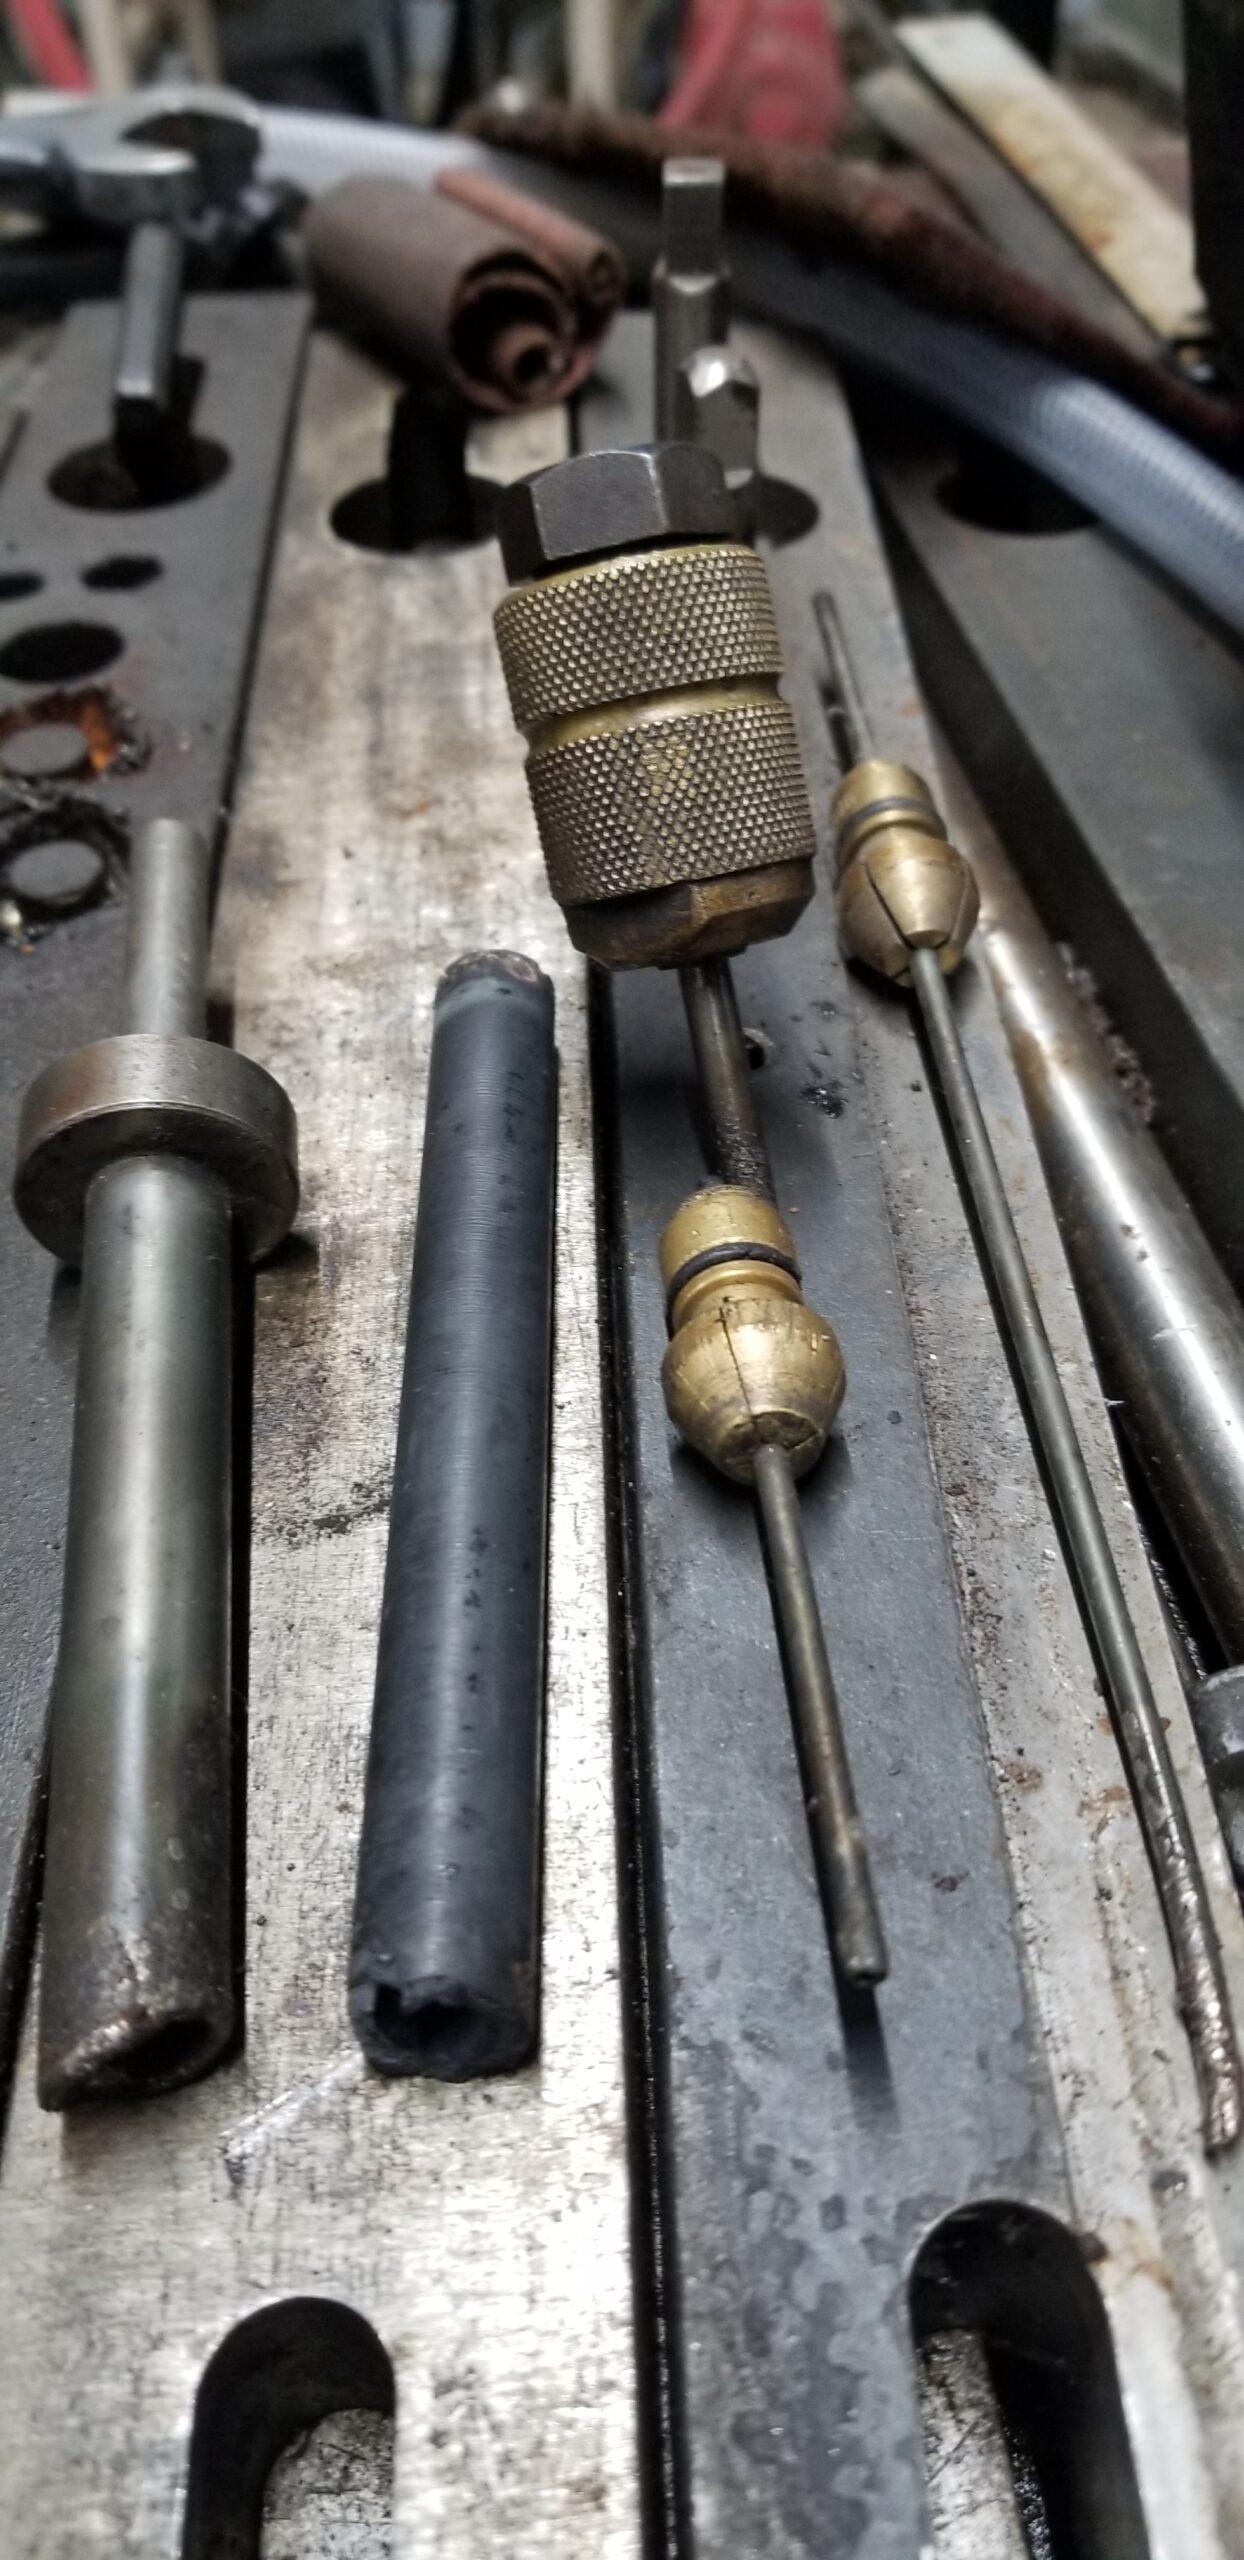
When you are working with broken taps it is important to remember that the center part is solid. Meaning the broken tap can be broken and essentially removed. Taps with a thread size smaller than M12 should be removed by breaking the center. In some cases, your tap will have a very large thread. If this is the case we advise that you divide it into halves for removal. You do not have to apply the electrode to the largest depth. When it reaches the desired depth just turn up the Arc-er head and begin to remove the debris. You can then continue the process of disintegration with your electrode. The power of a metal disintegrator is established by creating a series of electric arcs or discharges that erode the broken metals into smaller particles.

This produces sparks that move between the broken piece and the electrode cutting through the broken machine part.  A puddle is created by the spark (also known as the hot plasma) as a result of the workpiece being melted by the electrical discharge produced by the electrode. The small amount of dielectric is vaporized which creates bubbles around the spark.

Sparks illustrated

It is important to keep your work area clean. A slower removal rate increases the rate of tear which is related to the rate of removal. The head is located in the flush area which helps to speed up the time for metal removal. The result of the removal also affects the size of the spark. Big and long sparks lead to a bigger depth and a rougher surface. For a finer finish, smaller sparks, a higher wear rate, and low removal rate are required. There are copper alloys that have been designed to maximize the process of spark eroding and offer better wear resistance and improved machinability.

Visit our Youtube channel for more

How to Remove Broken Drill Bit From Metal

Are you wondering what the best way to remove broken drill bits from metals is? Electro Arc has been providing high-quality broken tap, drill, stud, and bolt removal EDM / MDM machines since 1947. Our technology safely removes the broken drill in seconds without causing any damage to your part. Our spark erosion and metal disintegration technology can save you thousands of dollars by not causing damage to expensive parts. Please, take a moment to review how our spark eroders work.

Examples of disintegration with an Electro Arc metal disintegrator

Get the Job Done Right with Electro Arc

Electro Arc’s unique process disintegrates only the center out of a broken tap or drill leaving its threads intact.  You can use this process to cut square or round shapes to back out studs or bolts or to remove large studs with a series of cuts.  Emboss identification on rolls of steel, bore, and counterbore holes.  You can reclaim expensive parts and provide immediate repairs on all types of equipment.  Thus you will experience fewer production overruns and late deliveries.

Model 2-SQT for removing broken drills:

  • Unlimited disintegration potential in a compact, versatile package 
  • For HSS tooling removal
  • Remove taps, drills, and studs from 0-80 to 2” (24.5 mm) in a single pass
  • The 36-inch maxi feature provides ultra-rigid support for absolute positioning

Electrodes For Tap & Drill Disintegration

Molybdenum Electrodes Are Different

These Electrodes are different and are usually less expensive. Moly electrodes have a higher melting temperature which means that it will break down or erode more of the broken tool, tap, or drill rather than the electrode. 

For Molybdenum Electrodes the diameters start at .020″

Looking for electrode diameter sizes?

VIEW LISTING OF STANDARD ELECTRODE DIAMETER SIZES

Graphite Electrodes

Graphite has several advantages over other materials. It is resistant to thermal shock. It is the only material in which mechanical properties increase with temperature. It has a low CTE for geometrical stability. It is easily machined. It does not melt but sublimes at very high temperature (3,400ºC), and finally, its density is lower (five times less than copper) which means lighter electrodes. Graphite removes material better than copper or copper-tungsten while wearing slower. The wear rate tends to diminish as the discharge increases, unlike copper, whose wear increases at higher currents. Therefore, graphite is suited for the machining of large electrodes since working with a high current intensity provides decreased roughing time.

Although graphite is prone to abnormal discharge, this can be eliminated through quality flushing, and lowering the intensity of discharge during negative polarity machining. However, as a result of this tradeoff, machining tungsten carbides is more difficult than with copper-tungsten electrodes. Also, since graphite is a ceramic, it is sensitive to mechanical shock, and consequently must be handled and machined with care.

For Graphite Electrodes the diameters start at 3/8″(9.5 mm)

For Graphite Electrodes the minimum power supply requirements are 15 KVA or higher

VIEW LISTING OF STANDARD GRAPHITE ELECTRODE DIAMETER SIZES

VIEW GRAPHITE ELECTRODE HOLDERS


Help With Electrode Sizing

View Instructions


Always Make Sure To Pick The Right Type Of Electrode

Molybdenum (Moly) Electrodes

Moly Electrodes have a higher melting temperature which means you will erode more of the broken tool and less of the electrode making Moly less expensive to use than other materials.

Graphite Electrodes

When removing large bolts .750″ to 19 mm and up use Graphite Electrodes for optimum performance and value. Graphite Electrodes only work on metal disintegrators with 20KVA or DC power supply.

Square, Hex, and custom Graphite Electrodes are available upon request.


Contact us with questions

IQ Head Adjustment on a Metal Disintegrator

Below is a transcription of the above video. If you have any questions about our broken drill, tap, and spark erosion machines then contact us on our contact page.

In this video we are going to demonstrate how to restore your IQ head back to the 20,000 factory setting for this is necessary when you realize that your IQ head is not operating optimally but this can be demonstrated and duplicated by pulling down on the Chuck lock nut and focusing right here on the collar at the top of the spindle assembly.  If you just pull straight down you will notice that there is to much play or too little or none at all. We are going to rotate it counterclockwise, once you get it to come to a complete stop stop you’re going to rotate it clockwise 1/3 turn while we do our 1/3 turn we are going to tighten back down the screw on the collar and this should get us right back to the 20,000 factory setting. There is one more step that we are going to take, moving you up top on the spindle and show you how to adjust the spring. In this segment we are going to show you how to set the spring adjustment for optimal head vibration and we do this by first of all making sure that we have our power stroke set at 100%.  We want to turn on our head vibration. We want to take our Allen wrench turn clockwise, to decrease spring tension. During our rotating here we are paying close attention to how the sound is resonating.  We want a nice smooth sound coming from the machine. The second component is it should be difficult to stall the machine by pushing upon  the brass fitting, it sounds like we’re almost there. so now that we achieved the optimal head vibration, we take our button head screw, here we go ahead and wait make sure that the slot on the spring adjustment is in line and it appears as though it is.  We make sure we put that back in place and now we have achieved setting the head at the 20,000 factory setting and fine-tuning it for optimal head vibration and you can enjoy smooth operation of your metal disintegrator.  You can also refer to your manual we have pictures and instructions detailing how to adjust your IQ head.

Electro Arc was purchased by Stillion Industries in 2019.  You can still access old Metal Disintegration troubleshooting videos like this one, we also have a new YouTube channel and a website for machine owners with resources at metal-disintegrators.com


Watch a Broken Drill Removed From Manifold

The following is a transcription of the above video. Please reach out to us here with any questions or concerns.

Hi and welcome to Electro ARC. Today we’re going to be demonstrating our DC direct current output disintegrating transformer which is optimally suited for removing broken carbide tooling. We have a broken 12 mm carbide drill selector. We’ve determined that we need to use a 312,000 electrode to remove the broken carbide drill.  The electrode is inserted into the disintegrator head. The machine is equipped with a disintegrator DC head and automatic servo feed, stop and start switches and depth stop. To begin the process i bring my electrode down on the broken tool, drop my splash bag, cover the edges with a rag, and using the start stop switches I begin the process. It tells us that we need 18 up through 9 by 32 in. Our machines can meet the needs of any part size shape or configuration. We’ve gone through and removed some of the loose bits of carbide drill left in the hole and there’s still a little bit of the drill down in the hole that’s not loose yet. So we’re going to take the disintegrator back down and we are still going to go with 1 in increments. As you can see, the head backed out and that’s indicating that we have  another loose piece of drill bit, so I can go in there and should be able to rummage around and find it, lets get our head out of the way and then with our compressed air we can clean out the hole and I can see bits of material down in there for us to pick out with some pics and pliers.  What we’ve done here is using our pics and and needle nose pliers is bring the chunks of the drill out of the hole and got to the solid drill and using a twisting action removed it from the hole leaving a clean hole undamaged for future use.

View more helpful videos for using your metal disintegrator on our new website for machine owners.

In the above video, Electro Arc’s 2-DVC DC metal disintegrating machine demonstrates the removal of broken carbide tooling. Equipped with our servo head with auto-feed allows for easy remote start and stop. Disintegrate up to 1 1/4 inch diameter in one pass. See more broken bolt removal examples.

Rivet Removal Using Broken Tap Remover

Using A Broken Tap Remover On A Rivet

Did you know that you can use Electro Arc tap removers to remove broken rivets?  You can see a demonstration of our Bolt Eater machine removing a rivet in the above YouTube video.  Electro Arc began offering the Bolt Eater(TM) in 2004 when we expanded our metal disintegrator line to include DC machines.  You can use our metal disintegrating machines to remove broken bolts, screws, dowels, rivets, taps and so much more!

More videos like these are available on Electro Arc’s old Youtube channel.  If you are interested in a metal disintegrator but are not sure which one might be the right choice, you will want to check out our machine builder.  This new feature takes you through the choices of AC or DC metal disintegrators, portable or tabletop versions, and the disintegrating head and column options offered with each of our 40 different metal disintegrating models.

Here is a transcript for the video Above:

Hello welcome to Electro Arc today we’re going to be removing an aluminum rivet using a portable DC metal disintegrator.  We are taking the time to put a rivet into a vise using a demonstration fixture we have here with our portable colony cross-arm to simulate a larger part in a demonstration like this.  So to begin a process we’re going to drop a splash bag and only remove the cap of the rivet. Now with the drop bag in place we can now turn on our metal disintegrator and disentegrate the cap on the rivet. The servo head is taking over the burning process. I think we’re through the cap now so we can raise our splash bag and see if our cap is loose. The cap is loose and actually pops right off in my hand.  Aftter removing the cap of our aluminum rivet we then inverted it in our demonstration assembly and now we are going to disintegrate the depth of the threads I begin the process the same way lower my Splash bag and turn on my disintegrator.

How to remove a broken tap with our metal disintegration technology.


Electro Arc metal disintegrators have many applications across industries, since purchasing Electro Arc in 2019 Stillion Industries has started a new YouTube channel to provide demonstrations of broken bolt removal and resources for metal disintegrator and Ames tester owners.

Remove Broken Dowel Pins with your Metal Disintegrator:

Electro Arc